
Previous post
Crafting stories from the ideas that tumble from my mind.

My sweaty palm clasped the hand of my girlfriend standing on the sidewalk outside her apartment on Luitpold Strasse in Bamberg, Germany in the summer of 1979. I anxiously awaited the arrival of her mother, Frau Mall, and her twin brother, Werner, for our first meeting. Soon Frau Mall pulled up in her tiny green VW Golf and we piled in for a slow winding drive up the hills to Greifenklau, a local brewery, and Gasthaus that still exists today. We went to the Biergarten in the back with its splendid view of the hills topped by Bamberg’s Altenburg. We searched for and found open seats amongst the German chatter and clinking utensils and I still can smell the Braten, Wursts, Sauerkraut, and of course beer.

We ordered food and beer and chatted, my girlfriend translating as I mostly answered Frau Mall’s questions about my family and home in Texas. Frau Mall bore Inge, my girlfriend, and her twin brother, Werner at the age of 40 which was uncommon in the late 1950s. She presented as a stout, white-haired matronly figure whose eyes and mouth smiled together, thus easing my nervousness as we talked.

Shortly the waitress arrived with four half-liter foam-topped glass mugs. Frau Mall stood and lifted her mug and waited for us to join her. Then she said loudly enough for the whole Biergarten to hear, “Der erste Schluck ist der Beste!” (The first sip is the best!) Whereupon she hoisted the mug and quaffed in one monstrous gulp half its contents. Staring directly into my eyes, she smiled and with the back of her hand swiped the foam mustache from her lips and flicked it to the floor with a splat. That is how Frau Mall won the heart of her soon-to-be son-in-law.

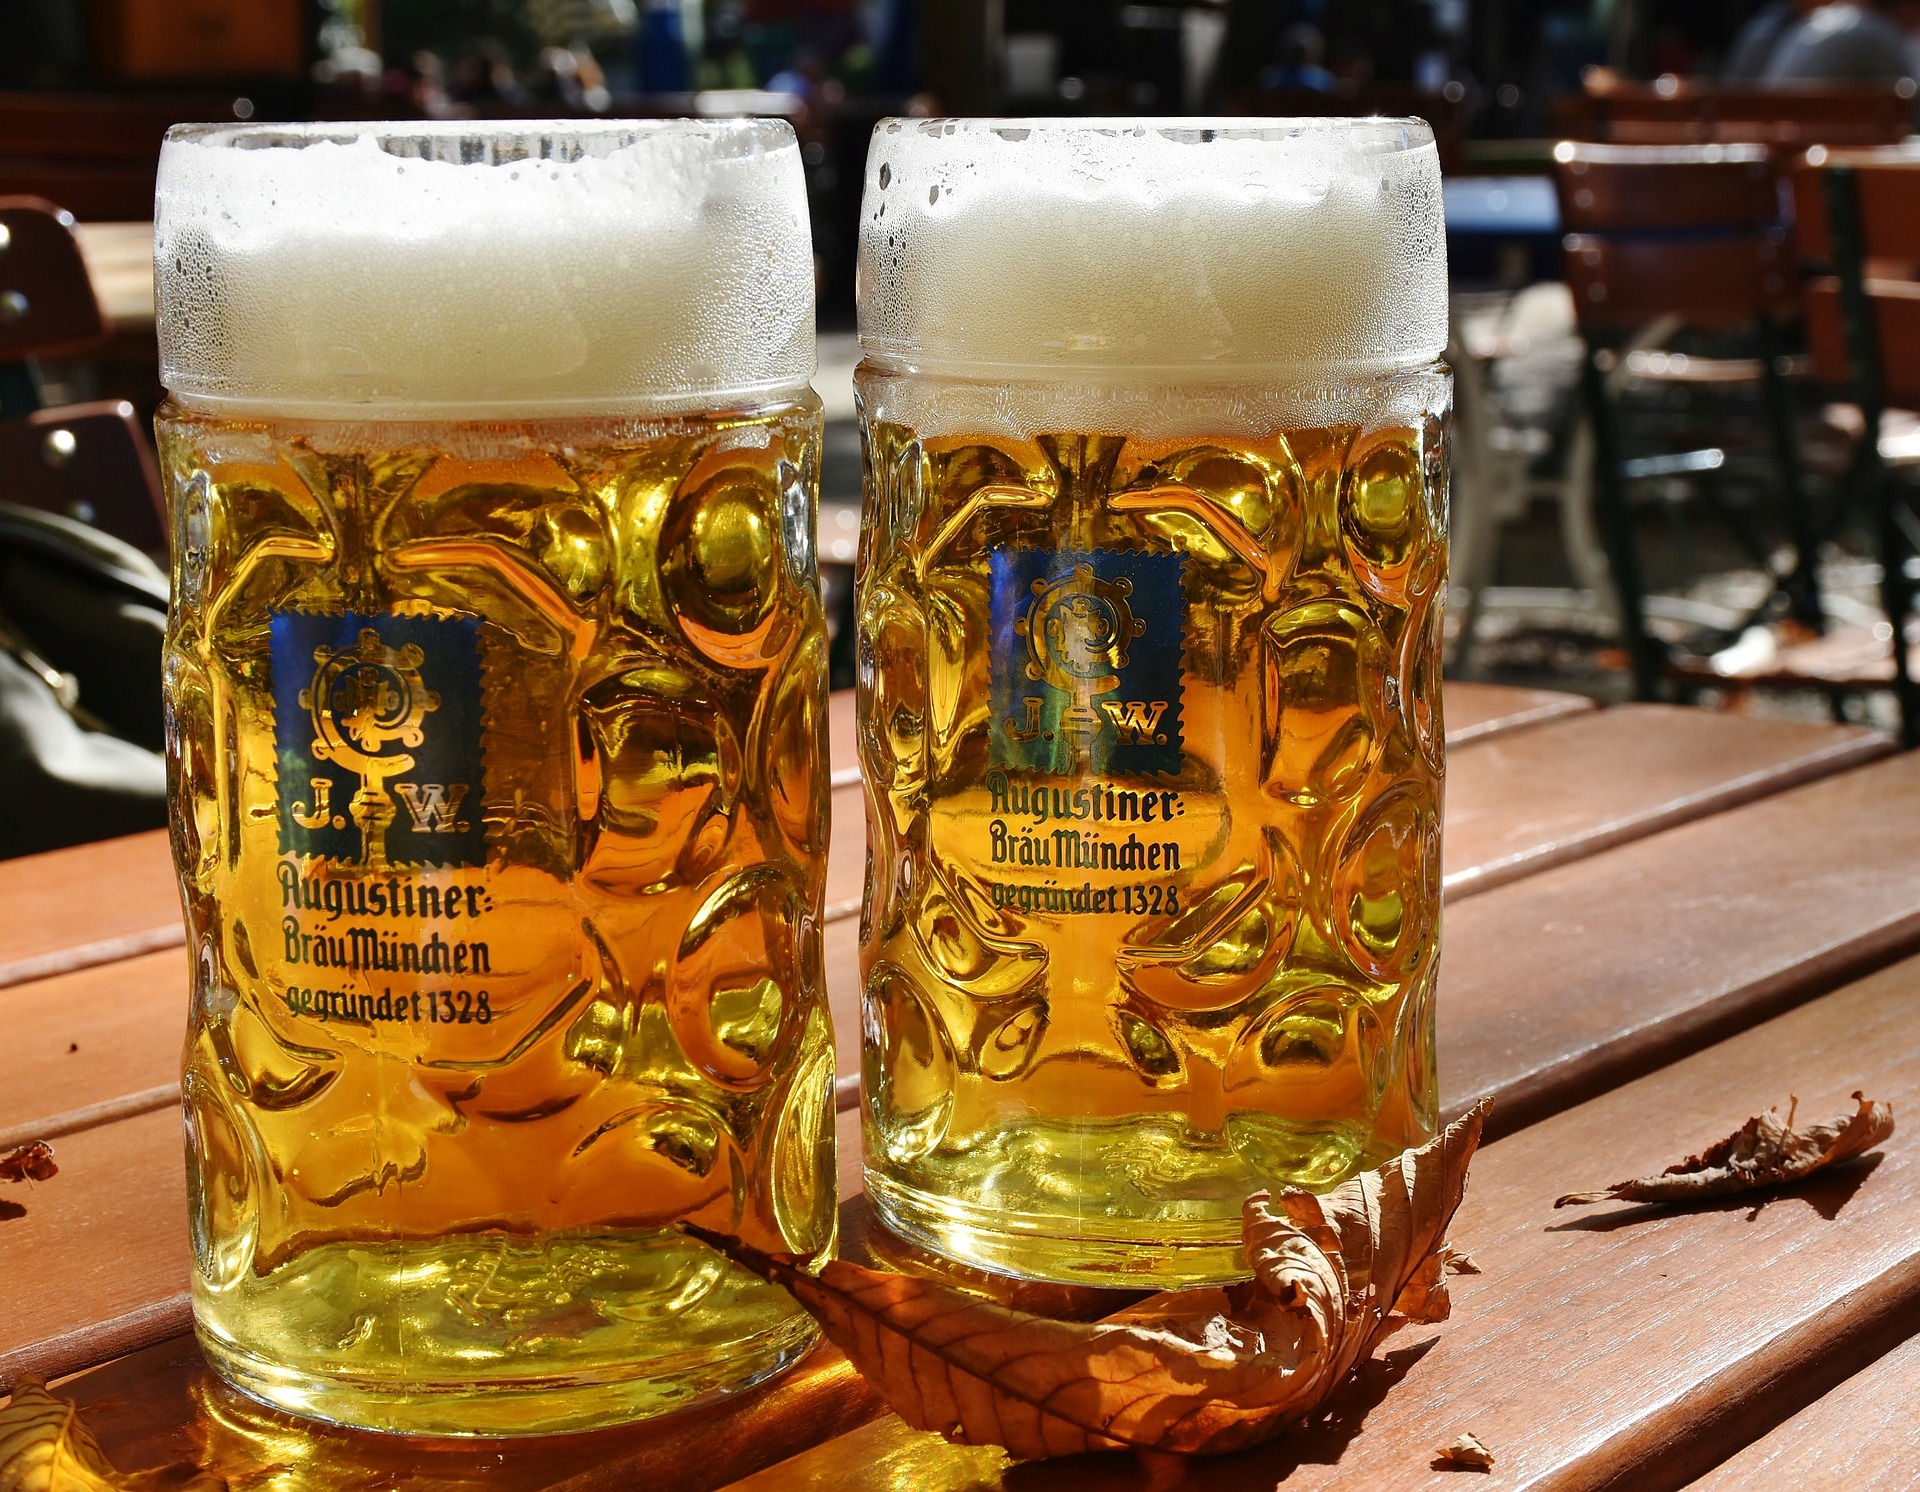
Through two tours in Germany over six years I drank the finest beer Germany has to offer. I enjoyed Helles, Lagers, Pils, Weizen, Dunkles, Bock, Dopplebock, München’s Hofbräuhaus Bier, and Bamberg’s famous Schlenkerle Rauchbier. And every beer filled my mouth with delight because in 1516 Germany enacted the Reinheitsgebot, Beer Purity Law, still active today for domestic beer, that dictates beer only be brewed with water, barley malt, and hops.
When I returned to America I was always disappointed to find only the thin, mostly corn-based beer that never presented the fullness of flavor found in German beer. Fortunately, craft breweries arose and home brewing became popular as well and I never went back to drinking the heavily advertised watery gruel.

A few years ago, a coworker mentioned that a local beer brewing club would present a beer brewing demonstration that I attended. Following the process closely and taking notes, I found this simple fact: if you can boil water, you can brew beer. Forty-plus batches later, I’m here to tell you the simple but time-consuming process of brewing beer. Beer brewing is easy, but it requires a solid block of five hours, and one must attend to equipment sanitization to prevent introducing illness-inducing critters. If you stick to 5-gallon batches, most of the brewing time will be spent waiting for large pots of water to boil.
Boiling grains and/or malt extracts with hops creates a sugar-laden product known as “wort”. As stated above, the primary ingredients for beer wort are simply water, barley malt, hops, and yeast.
A final note on the water: I brewed my first few batches with Austin, Texas, tap water as I consider their water fine to drink. However, once a batch of beer came out with a horrid chemical flavor that was completely undrinkable. I took a bottle to my local brewery supply to evaluate, and they stated that it had been brewed with chlorinated water. I learned that periodically municipal water suppliers run a “plug” of chlorine-dense water through the system for maintenance purposes. After that, I always brewed with jugs of spring water because I never wanted to cry again about having to pour five gallons of beer down the drain.
The byproducts of yeast’s sugar consumption produce wine, mead, beer, and even bread. Technically, any yeast could be used, but those bred specifically to the product work best. In beer, two types of yeast produce our delicious beverage:
I have brewed four lager beers, but beyond needing a temperature-controlled refrigerator, they are finicky, and I wasn’t patient enough to ensure the best quality of the beer. Ales are a lot easier to brew and manage.
Yeasts vary in what flavors they introduce into the beer. From fruity to spicy, the yeast you choose will impart a unique character to each beer you brew. Yeast typically can be purchased in dry packets or liquid form. My favorite has been Wyeast smack packs because they claim their yeasts tend to be more tolerant of higher fermenting temperatures. It’s also a lot of fun to smack the pack of interior liquid yeast to release it into the outer bag of yeast food.
From easiest to hardest, the three ways to brew beer all relate to the type of malt used to create the wort during the boil. These are:
As long as you have the equipment below, you can easily brew with the first two methods. I’ve never brewed Full-grain beer because it requires more equipment and attention. I’ve found Mini-mash brews to be more than suitable to my beer-drinking needs, so I never bothered to attempt brewing a Full-grain beer.
I purchased a beer brewing kit from Austin Homebrew Supply when they operated a local store. I really enjoyed browsing the store and finding neat brewing-related things to buy. However, they closed the store and changed their operation to online only, probably due to COVID-19 issues. You may find a complete beer brewing kit on their website here.
The following list includes the essentials required for brewing a 5-gallon (16-liter) batch of beer. (I put amazon affiliate links to each if you want to buy piecemeal.)
If you want to try mini-mash brewing, you would also need to purchase a large nylon bag to steep the grains prior to adding the malt extracts. For the cost of a bag and an extra 45 minutes of time, stepping up to a mini-mash really improves the quality of the flavor of your beer.
After the wort has boiled, it must be cooled rapidly. Although not a requirement, a copper tubing wort chiller makes this process much faster.

The following describes the brewing process for a mini-mash using the partial boil method. However, if you seek the easiest route of brewing extract-only, combine the water quantity of steps 1 and 2 and bring to a boil, remove from heat and add the malt extract, then move to start step 3. I won’t cover full-grain brewing here.
The best bet to begin beer brewing after you’ve obtained your equipment (or when you order your equipment) is to purchase a recipe from a reputable supplier such as Austin Homebrew Supply. You can easily find other home brew supplier recipes on Amazon.com, such as this American Amber by Northern Brewer. My first brew was AHS Broadway Amber Ale (mini-mash recipe), and it was such a hit with everyone I shared it with that I’ve brewed it several times. The recipe comes with all the ingredients and a recipe-specific brewing instruction sheet.
For water, my experience is, for mini-mash brewing, to purchase one 2.5-gallon pour-spout jug and 4 1-gallon jugs of spring water. Place the 2.5-gallon jug in a refrigerator to help the wort cool at the end of the boil.
The yeast should be brought to room temperature (and smacked if a Wyeast pack) before starting the brewing process.

Most recipes call for racking your brew to a secondary fermenter after one week. Carefully siphoning the beer and not the yeast dregs at the bottom of the fermenter results in a cleaner beer. I stopped doing this myself as I made sure not to pour the bottom of the bottle into my beer mug.
Bottling Your Beer!

So you’ve fermented your beer, measured the specific gravity, and taken a taste of your yummy, but flat brew. Now it’s time to bottle your beer. If you’re on a budget, you can get your bottles from your own drinking. However, bottle-capping tools don’t seal correctly on twist-cap bottles so gather those that require a bottle opener to open. Darker bottles are better as light degrades the beer quality. I liked the German flip-top half-liter bottles so I purchased those for my brew before switching to kegging my beer. (Another story for the future.)
The bottles can be sanitized in a dishwasher on high heat, placing them upside down on the racks. I mostly sanitized mine in a five-gallon bucket full of sanitizer purchased from my brewery supplier. Also sanitize the siphon hose and the beer-pouring wand.
Shortly before bottling you will need to bring 2 cups of water to a boil and add the supplied carbonating sugar to the boil. Boil one minute more, then allow the mixture to cool to room temperature. Add the mixture to your pouring bucket and siphon the beer from the fermenter into this container, ensuring to not pick up dregs from the bottom of the fermenter.
Place the pouring bucket on a table and attach the sanitized tube to the spigot if your bucket has one or to the siphon pump if not. Place the bottles on the floor. Get the beer flowing and place the wand in the bottom of the bottle, pressing the spring-tipped valve to allow the beer to flow. (Two sets of hands really help here.) Just as the beer comes to the top of the bottle lift the wand and place it in the next bottle and repeat until the fermenter bucket has nothing but dregs left.
Leaving dregs behind at every transfer stage resulted in the original 5-1/4 gallons at the beginning of fermentation being reduced to about 4.5 gallons of beer. The batch pictured here produced one 1-liter (33 oz) bottle, one 22 oz bottle, 12 16 oz bottles, and 26 12 oz bottles

There will be spillage, no matter how careful you are. I found that a large, shallow plastic tray used to capture water heater or washer overflow works best to keep the brew off the floor and keep the wife happy. Finally, after every step, it is wise to clean your brewing equipment. I immediately rinse and clean the brew pot, fermenters, and hoses after use so that I don’t have the horrible chore of cleaning dried, caked-on fermenting dregs.
After a week, the beer will be carbonated and ready to drink.
As lengthy as this article seems, the beer brewing process is simple and easy to accomplish. I, and my guests, have enjoyed every single bottle of beer I brewed and you too can share the pride of accomplishment and the joy of sharing when you too brew your own beer.
Image attribution: Title: Image by -Rita-👩🍳 und 📷 mit ❤ from Pixabay
Beer mugs: Image by Jürgen from Pixabay
Hand beer: Image by -Rita-👩🍳 und 📷 mit ❤ from Pixabay


Recent Comments